










Key Takeaways:
- Installation time ranges 10-45 minutes DIY (5-20 minutes professional) depending on wall type: drywall 15-20 min, plaster 30 min, concrete 45 min, slatwall 5 min with 75-99% DIY success rates.
- Anchor capacity varies dramatically: plastic anchors 5-20 lbs, threaded anchors 25-75 lbs, metal toggle bolts 50-100 lbs, direct stud mounting 80-100 lbs maximum weight capacity.
- Wall mounting eliminates 100% floor space consumption (4.0 sq ft saved) while delivering 32x capacity efficiency versus floor standing displays consuming valuable floor area.
- Pre-installation planning includes wall type identification (drywall/plaster/concrete/brick/tile), stud location, weight assessment, and hidden utility detection preventing dangerous drilling errors.
- Slatwall systems provide tool-free repositioning with 50-100 lbs per linear foot capacity, 5-minute DIY installation, 99% success rate, and instant reconfiguration for seasonal flexibility and A/B testing.
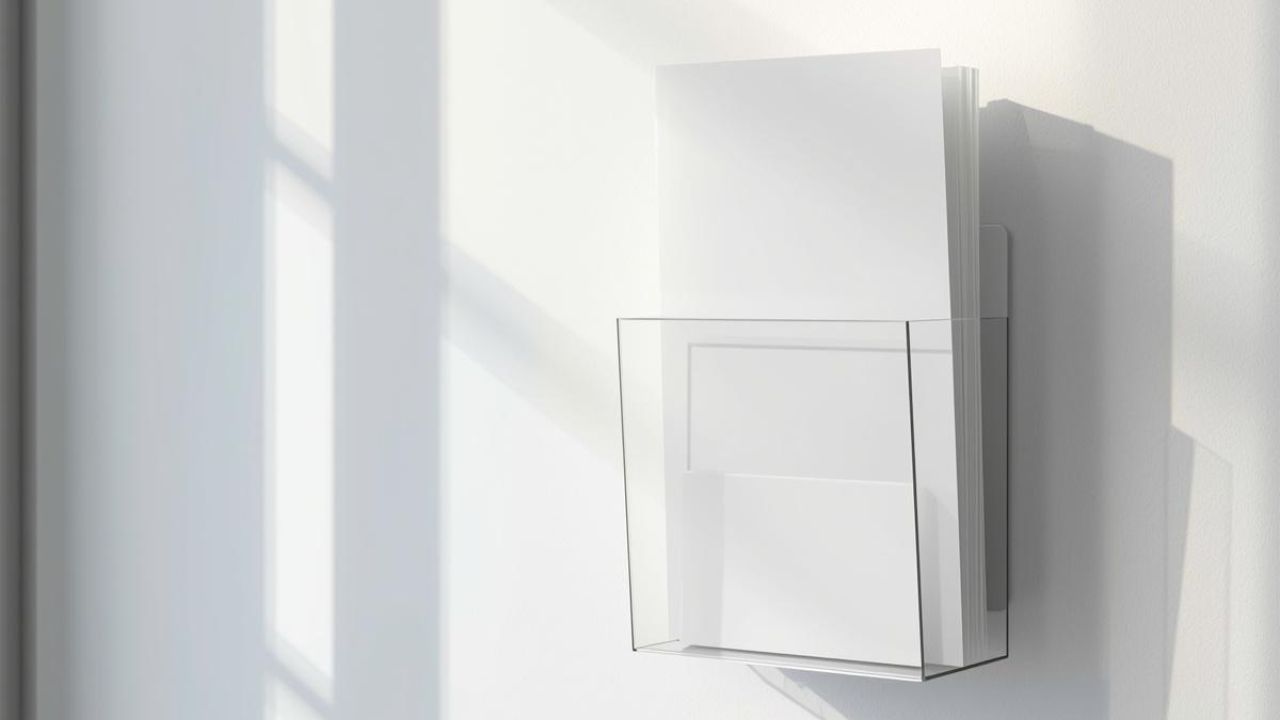
Wall mounted brochure holders save floor space while providing accessible information displays. Proper installation ensures secure mounting preventing holder failure and wall damage. This guide covers pre-installation assessment, tool selection, measurement techniques, wall-specific installation procedures, and troubleshooting common problems. Following systematic steps delivers professional results whether installing into drywall, studs, masonry, or tile.
What Should You Check Before Installing a Wall Mounted Brochure Holder?
Pre-installation planning prevents costly mistakes and ensures optimal placement. Wall type identification and location selection determine hardware needs and installation approach.
Where Should You Place It for Visibility Without Blocking Traffic?
Reception areas in solo practitioner offices benefit from wall mounting above desks without consuming counter space. Shared workspace common areas and home offices achieve professional appearance through strategic placement. Medical exam rooms and legal offices with limited square footage maximize vertical space efficiently. Utilize dead wall space behind doors, narrow hallway walls, and areas between windows optimizing unused surfaces.
Corner-mount designs fit specialized corner applications while maintaining accessibility. Measuring and marking for level placement using laser level or traditional level ensures professional appearance. Spacing calculations for multiple holder arrays maintain visual consistency across installations.
Position holders at comfortable viewing heights avoiding traffic flow disruption while maximizing visibility. Professional wall mount displays accommodate diverse placement requirements through varied configurations and mounting options. Strategic positioning balances accessibility with aesthetics creating functional information distribution without spatial compromise.
What Wall Surface Are You Mounting Into (Drywall, Stud, Tile, Brick, Glass)?
Wall type identification determines anchor selection and installation technique. Drywall consists of gypsum plus paper requiring anchors unless mounting into studs. Locate studs using electronic or magnetic stud finders for maximum holding strength. Plaster walls feature lath underneath, proving more fragile and requiring careful drilling to prevent cracking.
Concrete and brick represent masonry requiring hammer drill and specialized anchors. Tile represents surface finish only—check substrate underneath determining actual wall composition. Glass walls demand adhesive mounting systems or specialized clamps avoiding structural drilling.
Weight capacity assessment calculates total load including holder plus brochures selecting appropriate anchors. Rental space considerations favor damage-free adhesive mounting options preventing security deposit loss. Testing wall type through tapping reveals hollow versus solid construction guiding anchor selection.
What Tools and Hardware Do You Need for a Clean, Secure Install?
Proper tool selection matches installation requirements to wall type. Hardware compatibility ensures secure mounting preventing holder failure.
Which Screws, Anchors, and Drill Bits Match Your Wall Type?
Drill selection depends on wall composition with hammer drill required for masonry installations. Appropriate drill bits include masonry bits for concrete and brick, standard bits for wood and drywall. Anchor types vary dramatically by weight capacity and wall construction.
Plastic anchors handle 5-20 lbs for light loads in drywall. Expansion anchors similarly support 5-20 lbs for light-medium loads. Threaded anchors increase capacity to 25-75 lbs for medium loads. Molly bolts accommodate 25-50 lbs medium loads in hollow walls.
Toggle bolts range from plastic versions handling 10-20 lbs to metal versions supporting 50-100 lbs for very heavy loads. Screws directly into studs provide maximum 80-100 lbs capacity. Concrete anchors secure masonry installations. Screws typically ship with holders or require separate purchase matching hole specifications. Optional adhesive strips enable damage-free installation in rental spaces or temporary applications.
What Measuring and Marking Tools Help You Get Level on the First Try?
Screwdriver or drill driver tightens fasteners without damaging acrylic components. Laser level or traditional level ensures horizontal alignment preventing crooked installations. Measuring tape calculates spacing for multiple holders and verifies height positioning. Pencil marks drilling points and reference lines for accurate placement.
Stud finder locates structural supports behind wall surfaces. Templates enable precise drilling matching holder mounting patterns exactly. Safety glasses protect eyes from drilling debris and dust. Ladder provides safe access for high installations above normal reach.
Gathering all tools before starting prevents mid-installation delays searching for missing items. Quality tools deliver superior results compared to improvised alternatives that compromise installation precision. Complete tool preparation enables efficient workflow from measurement through final mounting.
How Do You Measure and Mark the Mounting Points Correctly?
Accurate measurement prevents misalignment requiring time-consuming corrections. Proper marking ensures first-time drilling success.
How High Should You Mount the Holder for Easy Reach and Reading?
Determine mounting height based on user accessibility and viewing angles. Calculate spacing for multiple holders measuring total span then dividing evenly for gap consistency. Check for hidden utilities including electrical wiring and plumbing before drilling prevents dangerous and costly damage.
Single-pocket slim profile holders measuring 9-12 inches wide fit confined spaces efficiently. Multi-pocket vertical tiered designs maximize vertical space ideal for limited wall areas. Side-by-side horizontal arrangements suit wider wall sections with restricted height.
Professional brochure holders come in configurations optimized for specific spatial constraints and capacity requirements. Consider typical user height and approach angle when setting vertical position ensuring comfortable access without reaching or stooping. Height optimization balances visibility with accessibility across diverse user populations.
How Do You Use a Template or Holder Backplate to Mark Hole Spacing?
Templates enable precise drilling matching manufacturer specifications exactly. Mark holder position at desired height using pencil for visibility. Use level ensuring horizontal alignment before marking hole locations. Mark all drilling points with pencil creating clear drilling targets.
Double-check measurements before drilling to prevent irreversible errors. Identify mounting hole locations using holder backplate as template guaranteeing perfect alignment. Calculate total weight including holder plus maximum brochure capacity selecting appropriate anchor strength.
Templates eliminate measurement errors that cause misaligned holes requiring patching and redrilling. Hold the template firmly against the wall while marking, preventing shifting that skews hole positions. Transfer all marks clearly ensuring visibility during the drilling phase when the template is removed.
What Are the Step-by-Step Installation Steps for Each Wall Type?
Installation procedures vary by wall composition. Following wall-specific techniques ensures secure mounting and prevents damage.
How Do You Install on Drywall With Anchors When No Stud Is Available?
Drywall installations require anchors unless mounted directly into studs. Mark holder position at desired height using level for horizontal verification. Mark all drilling points with pencil ensuring accurate placement. Drill pilot holes to correct depth matching anchor specifications.
Insert wall anchors matching type to wall composition and weight requirements. Ensure anchors sit flush with the wall surface for proper holding strength. Align holder with drilled holes positioning precisely over anchor locations. Insert screws and tighten gradually avoiding over-tightening that cracks acrylic.
Perform final level check adjusting if needed before fully securing. Load test with weight before adding brochures confirming anchor strength. DIY installation averages 20 minutes while professional installation requires 10 minutes. DIY success rate reaches 90% when following proper procedures and using correct anchors.
How Do You Install Into a Stud, Masonry, or Tile Without Cracking or Stripping?
Drywall into stud installation: Locate studs using stud finder marking locations with pencil. Drill pilot holes into stud centers avoiding edge splitting. DIY installation takes 15 minutes with 95% success rate. Professional installation requires only 8 minutes. Mounting into studs provides maximum 80-100 lbs weight capacity.
Plaster wall installation: Plaster proves more fragile requiring careful drilling to prevent cracking. Use the correct bit for plaster composition drilling slowly with light pressure. DIY installation averages 30 minutes with 85% success rate. Professional installation takes 15 minutes. Masonry anchors or heavy-duty wall anchors handle plaster's unique characteristics.
Concrete and brick installation: Requires hammer drill and masonry anchors designed for compression strength. Drill to proper depth matching anchor specifications exactly. Concrete DIY installation takes 45 minutes with 75% success rate reflecting difficulty. Brick DIY averages 40 minutes with 80% success rate. Professional installation requires 20 minutes concrete, 18 minutes brick using specialized equipment. Drill into brick rather than mortar joints for maximum strength.
Tile installation: Requires special carbide or diamond bits preventing cracking. Check substrate underneath as tile represents surface finish only. Use appropriate anchors for underlying wall material. Drill slowly with light pressure avoiding fracture. Tape over drilling point reduces bit wandering on slick surfaces.
What Is the Bridge Process for Finishing, Loading, and Safety-Checking the Holder?
Final steps ensure secure mounting and proper operation. Testing prevents failures after loading materials.
How Do You Tighten, Level, and Test Weight Capacity Before Loading Brochures?
Insert screws and tighten gradually avoiding acrylic cracking from excessive torque. Perform final level check adjusting position if needed before fully securing. Load test with weight before adding brochures confirming anchor adequacy. Test weight capacity prevents failures after loading valuable materials.
Ensure proper ventilation when drilling masonry as dust creates respiratory hazards. Verify secure mounting checking for wobbling indicating inadequate anchor engagement. Safety considerations include wearing eye protection when drilling, preventing debris injuries.
Use proper ladder for high installations ensuring stable footing preventing falls. Check for electrical wires before drilling to avoid dangerous shocks and wiring damage. Ensure stable ladder positioning maintaining three-point contact. Implementing maintenance protocols ensures long-term performance and appearance preservation.
How Do You Load Materials So They Don't Curl, Jam, or Fall Forward?
Combination business card and brochure holders consolidate multiple material types efficiently. Literature holders with built-in signage frames integrate messaging with information distribution. Rotating wall-mount displays access multiple sides maximizing capacity in limited space.
Multi-tier holders maximize vertical space accommodating varied brochure sizes simultaneously. Deep pockets handle thick catalogs without binding or falling forward. Dividers separate multiple brochure types in single holder maintaining organization.
Load materials carefully avoiding overstuffing that causes jamming and retrieval difficulty. Position brochures uniformly prevent tilting that creates an unprofessional appearance. Quality business card displays and brochure holders feature design elements preventing common loading problems through engineered pocket geometry and capacity management.
How Do You Troubleshoot Common Installation Problems After Mounting?
Installation problems require systematic diagnosis and correction. Understanding common issues enables quick resolution.
What Should You Do If the Holder Wobbles, Sags, or Pulls Away From the Wall?
Holders mounting crooked require adjustment techniques including loosening screws and repositioning using level guidance. Anchors not holding weight demand upgrade solutions selecting higher-capacity alternatives. Screws stripping drywall indicate wrong anchor type requiring proper anchor selection matching wall composition and load.
Upgrade to heavier-duty anchors if weight exceeds initial capacity estimates. Consider toggle bolts providing 50-100 lbs capacity for heavy installations. Mount into studs for maximum 80-100 lbs capacity when wall construction permits.
Testing weight capacity before loading prevents failures requiring complete reinstallation. Pull-away problems indicate inadequate anchor penetration or wrong anchor type for wall composition. Redistribute weight across multiple mounting points when single-point mounting proves insufficient for total load.
How Do You Fix Misaligned Holes, Uneven Mounting, or Damaged Drywall?
Drill bit wandering on hard surfaces requires center punch creating starting dimple guiding bit accurately. Holder cracking from over-tightening demands gradual tightening monitoring for resistance changes indicating adequate torque. For misaligned holes use larger anchors filling old holes or patch with spackling compound allowing rehardening before redrilling.
Damaged drywall repair involves patching holes with spackling compound, sanding smooth after drying, and repainting before reinstalling the holder. Multiple failed attempts may require professional assistance preventing further wall damage. Document problematic installations identifying patterns suggesting technique improvements or tool upgrades.
Learn from errors adjusting approach on subsequent installations improving success rates through experience. Misalignment corrections prove simpler when caught early during installation rather than after full mounting. Systematic troubleshooting methodology identifies root causes rather than treating symptoms enabling permanent solutions.
Reclaim Valuable Floor Space While Multiplying Information Capacity
Wall mounting transforms space utilization through vertical optimization. Floor standing displays consume 4.0 sq ft floor space limiting placement options in confined areas. Wall mounted systems eliminate 100% floor space consumption freeing valuable area for customer seating, merchandise display, or operational functions. Slatwall systems require only 0.1 sq ft through minimal base projection while delivering maximum flexibility.
Capacity efficiency reveals dramatic differences across mounting approaches. Floor standing provides 8x capacity relative to footprint. Wall mounted delivers 32x capacity through vertical space utilization. Slatwall achieves 40x capacity through optimized vertical stacking and modular configurations. This efficiency proves crucial for reception areas, medical offices, and professional environments where floor space commands premium value.
Bulk installations achieve economies of scale through experienced crews completing dozens of holders daily. Businesses requiring custom display solutions benefit from engineered configurations matching specific spatial constraints and operational requirements. Integration opportunities combine custom printed signs and posters with brochure distribution creating unified messaging. Strategic coordination between wall-mounted holders and complementary signage creates intuitive navigation supporting customer journey through awareness, consideration, and decision stages.
Execute Professional Wall Mounting for Secure, Long-Lasting Results
Wall mounted brochure holder installation success depends on matching hardware to wall type and weight requirements. Pre-installation planning identifies optimal placement maximizing visibility without obstruction. Proper tool selection prevents damage while ensuring secure mounting. Measurement accuracy using levels and templates eliminates costly misalignment corrections. Wall-specific techniques accommodate drywall, studs, plaster, concrete, brick, and tile through appropriate anchors and drilling methods.
Slatwall systems provide ultimate flexibility through tool-free repositioning supporting seasonal changes and promotional testing. Professional installation services deliver consistent results across multiple locations with superior speed and reliability. Displays and Holders provides comprehensive wall mounting solutions including hardware, installation guidance, and custom configurations for specialized requirements. Our expertise helps facility managers, operations teams, and business owners execute professional installations delivering secure mounting and lasting performance.
Contact our specialists to discuss your wall mounting project and receive recommendations based on specific wall types, weight requirements, and spatial constraints ensuring successful installation outcomes.